Want to know how to create custom triggers in Dynamics 365 Customer Insights Journeys? You’re in the right place.
This walkthrough is designed for functional consultants or business users. Most steps don’t require coding, though you’ll need to hand off a small code snippet to a developer to add it to your website or app.
What Are Triggers in Customer Insights?
Triggers are events that start a customer journey. There are three types of triggers available in Customer Insights Journeys:
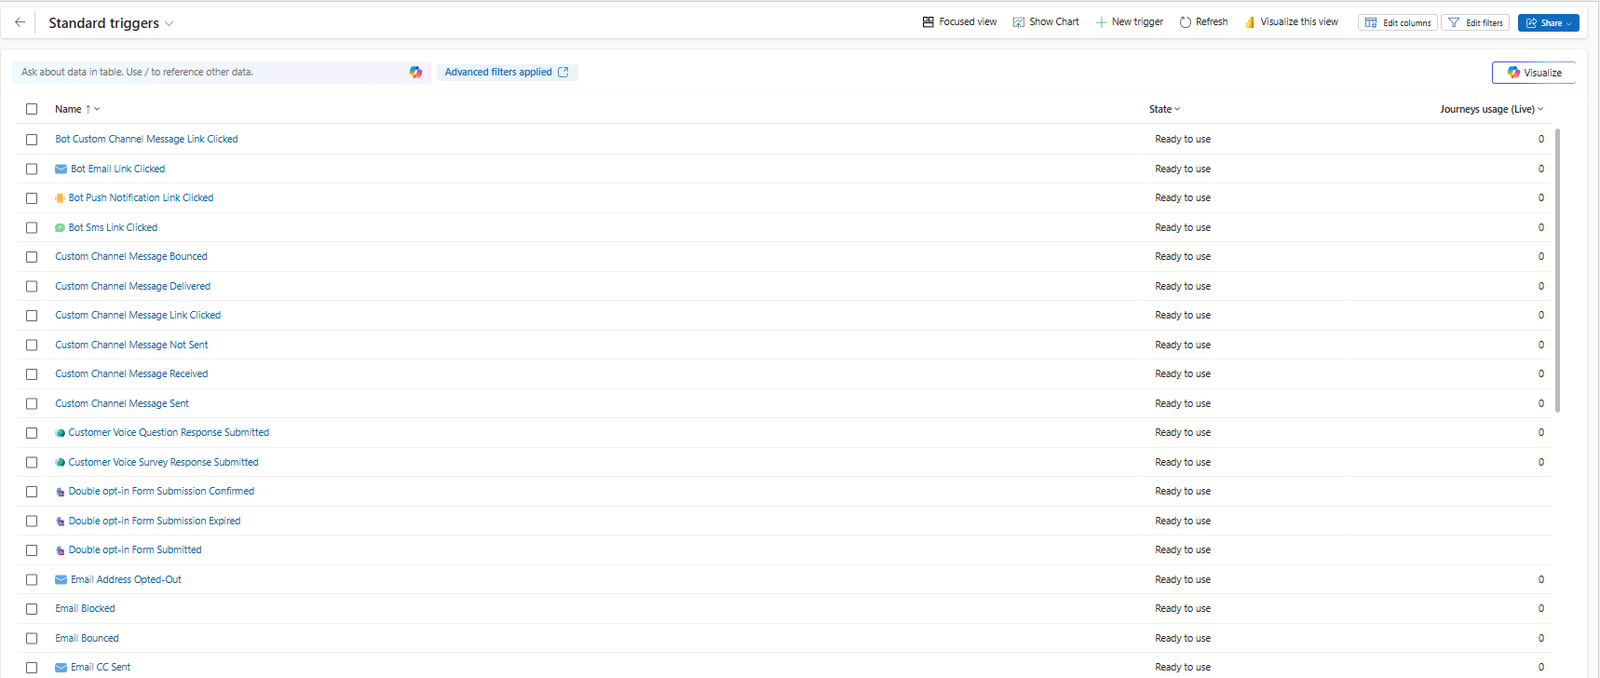
1. Standard Triggers
These are built-in events based on common customer actions. Examples include:
-
Email delivered
-
Email opened or clicked
-
Email unsubscribed
-
Contact registered for an event
-
Contact checked in to an event
These are all behavior-based and happen inside the marketing environment.
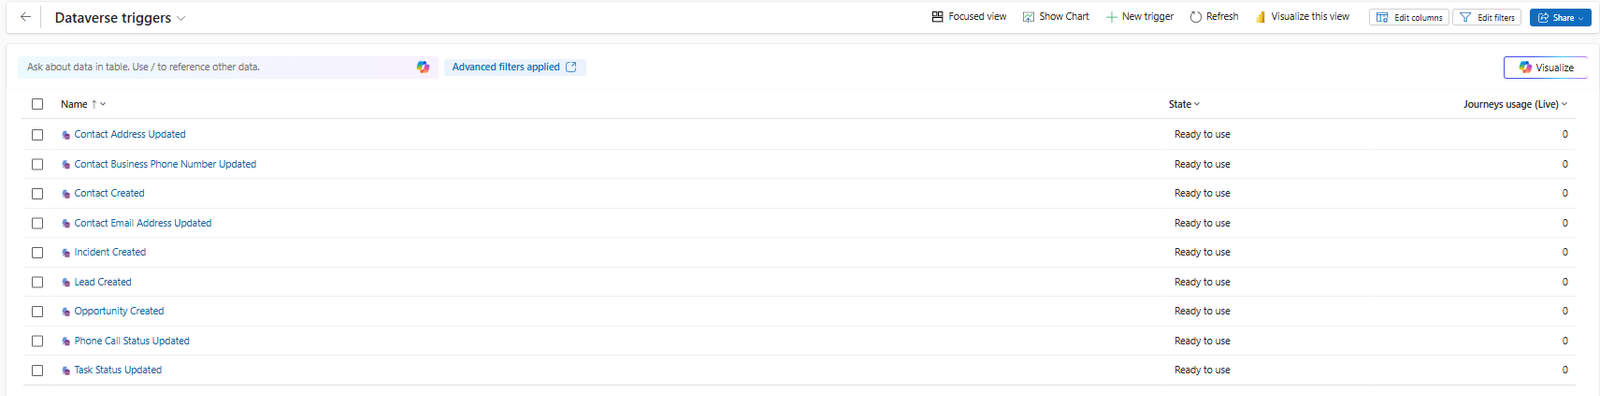
2. Dataverse Triggers
These are based on changes to your data in Dataverse. Examples:
-
Contact created or updated
-
Opportunity created
-
Address updated
These are useful when the data change is happening within your CRM or related Power Platform apps.
3. Custom Triggers
These are events that happen outside your Microsoft ecosystem — like on a website or a mobile app. For example:
-
A contact submits a web form
-
A customer completes a purchase
-
A user logs into your app
When Should You Use a Custom Trigger?
Use custom triggers when the action you want to capture:
-
Happens outside of Dataverse (e.g., in a custom app or website)
-
Needs to send specific data into the journey that is not in your dataverse.
You can use custom trigger attributes for personalization in emails or SMS messages.
Creating a Custom Trigger (Step-by-Step)
1. Start by Naming It Clearly
For example:
“Site Purchase Trigger” or “Form Submission Trigger”
Also, make sure to add a description. This helps your team instantly understand what it’s used for.
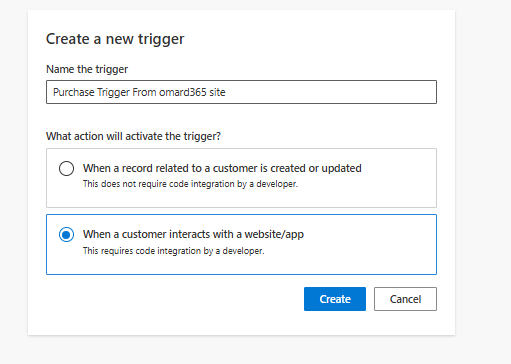
2. Choose the Trigger Type
Select: “When a customer interacts with a website or app”
Then add a helpful description so other users or admins can quickly grasp what it does.
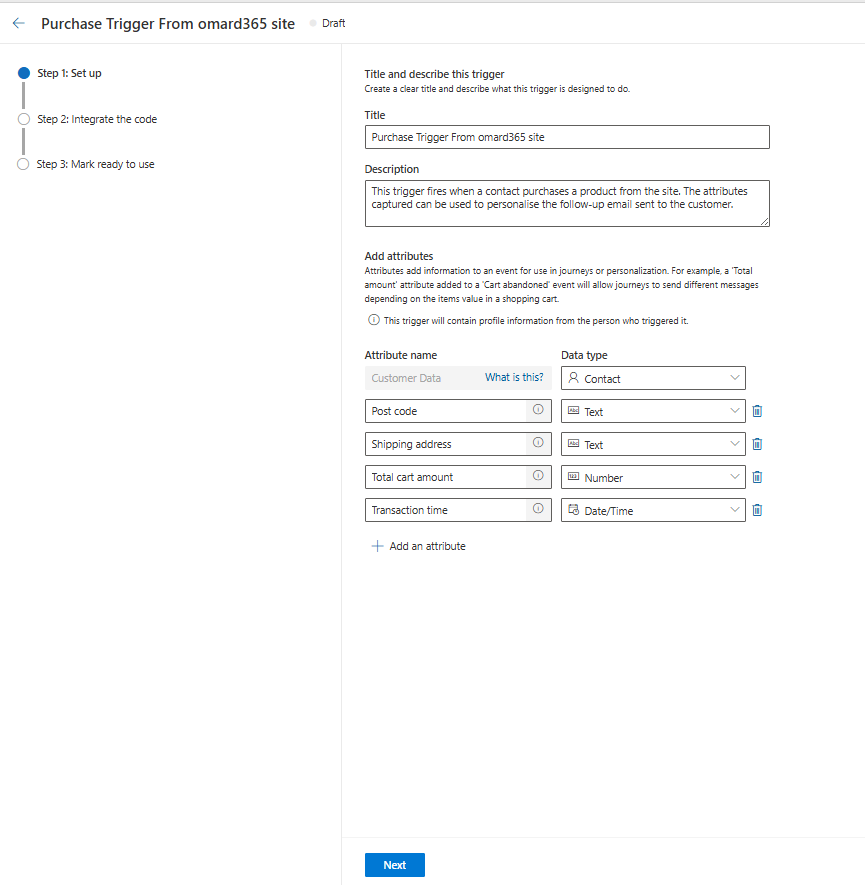
3. Add Attributes
Attributes allow you to bring extra information into the journey or use it in personalization. Examples:
-
TotalAmount -
ProductCategory -
CartValue
You’ll be asked to map the trigger to contact or lead. Choose based on what type of record the journey is working with.
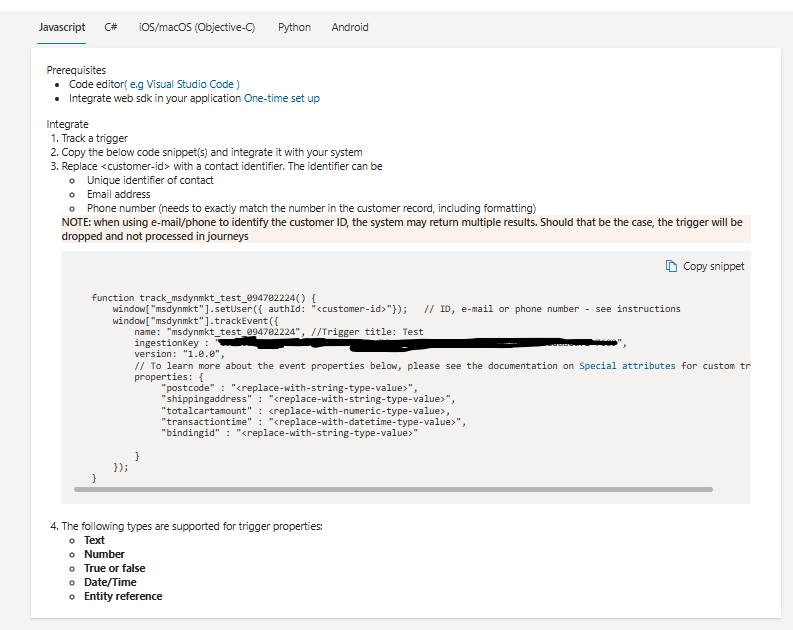
4. Generate the Code Snippet
Once you’ve added your attributes and saved, go to the “Go to code snippet” step. The platform will give you the code in several formats:
-
JavaScript
-
C#
-
iOS
-
Python
-
Android
Pass this snippet to your developer to place on the page where the trigger should fire, such as a checkout confirmation page or a form submission.
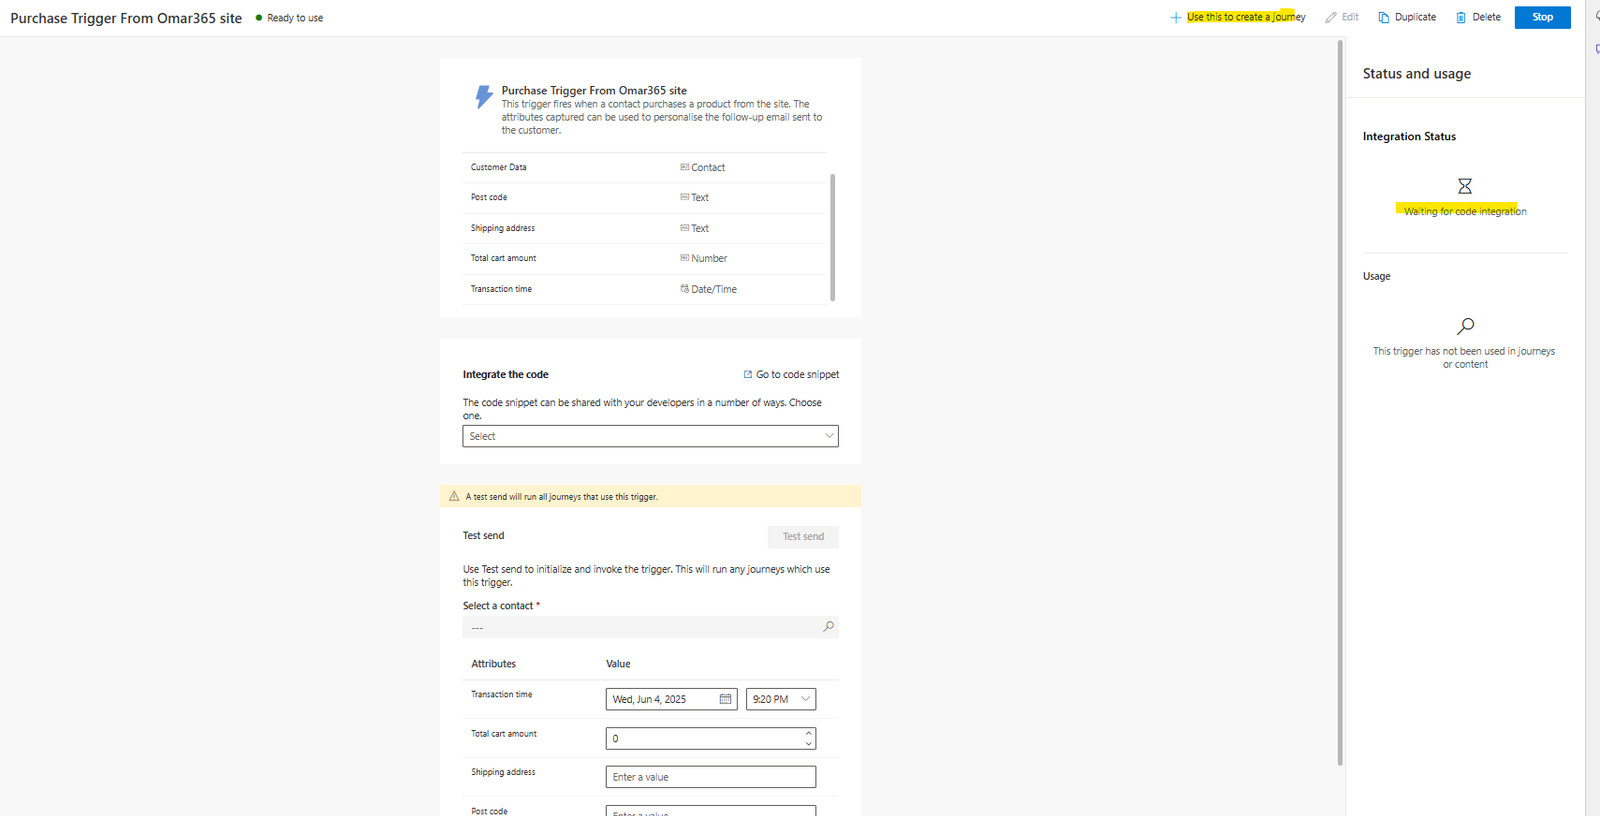
5. Mark it as ready to use
Once it’s integrated to the site, mark the trigger as ready to use. This can take a few minutes to complete. Now you can use this trigger to create a journey.
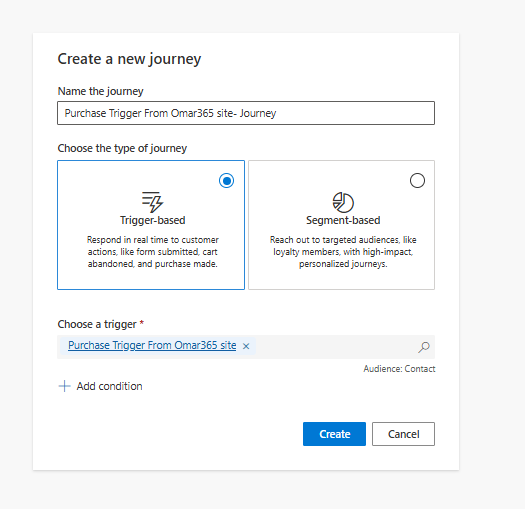
6. Create your Journey
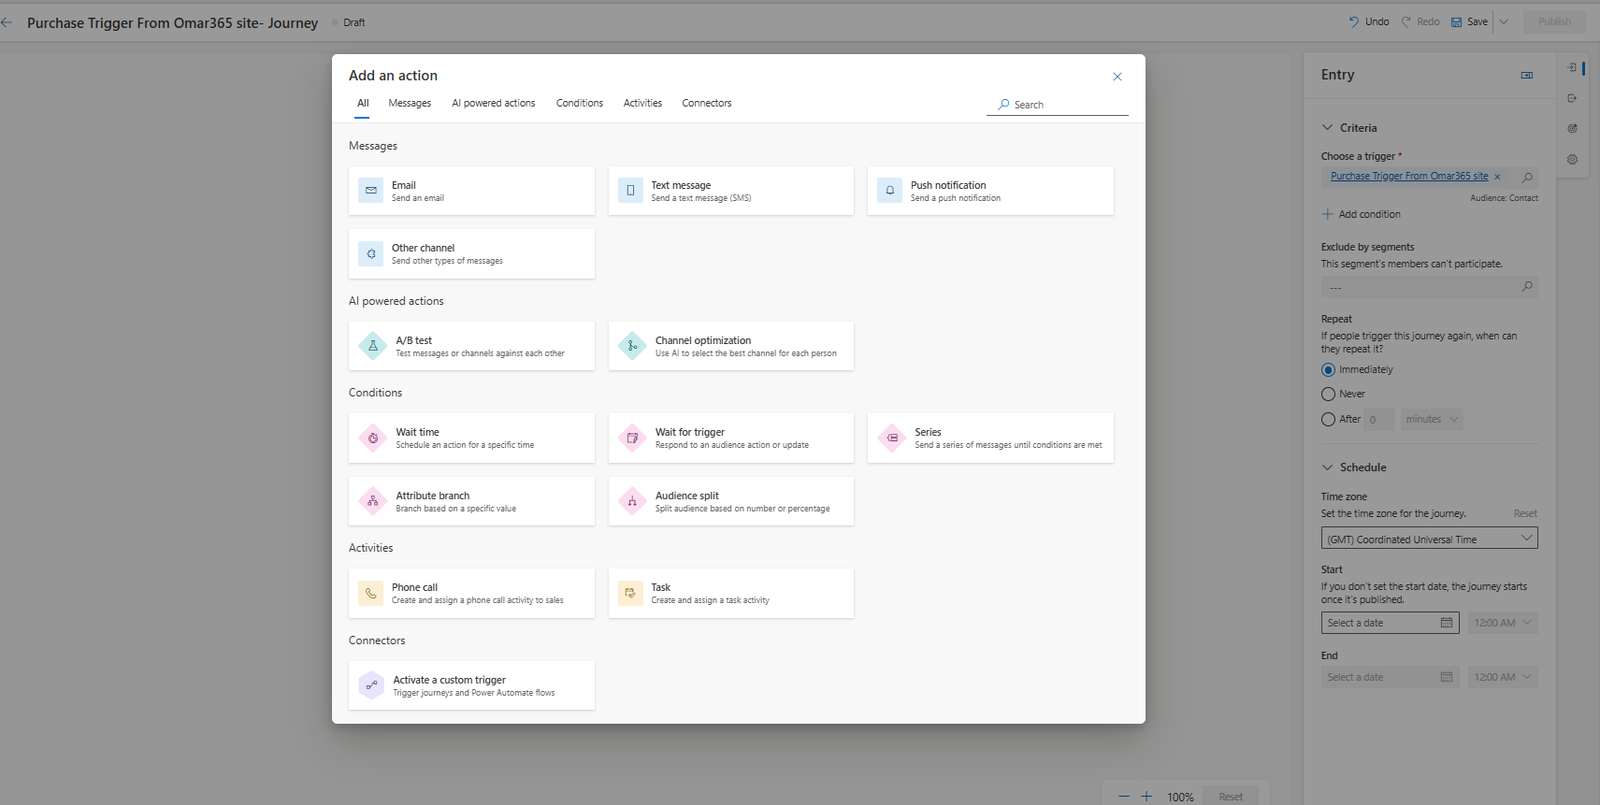
7. What’s Next?
Now the key question is, what action should your trigger start?
-
Send an email or SMS
-
Notify a sales rep
-
Begin a nurture sequence
The screenshot below shows all the actions you can pick. I’m going to pick Email as an example.
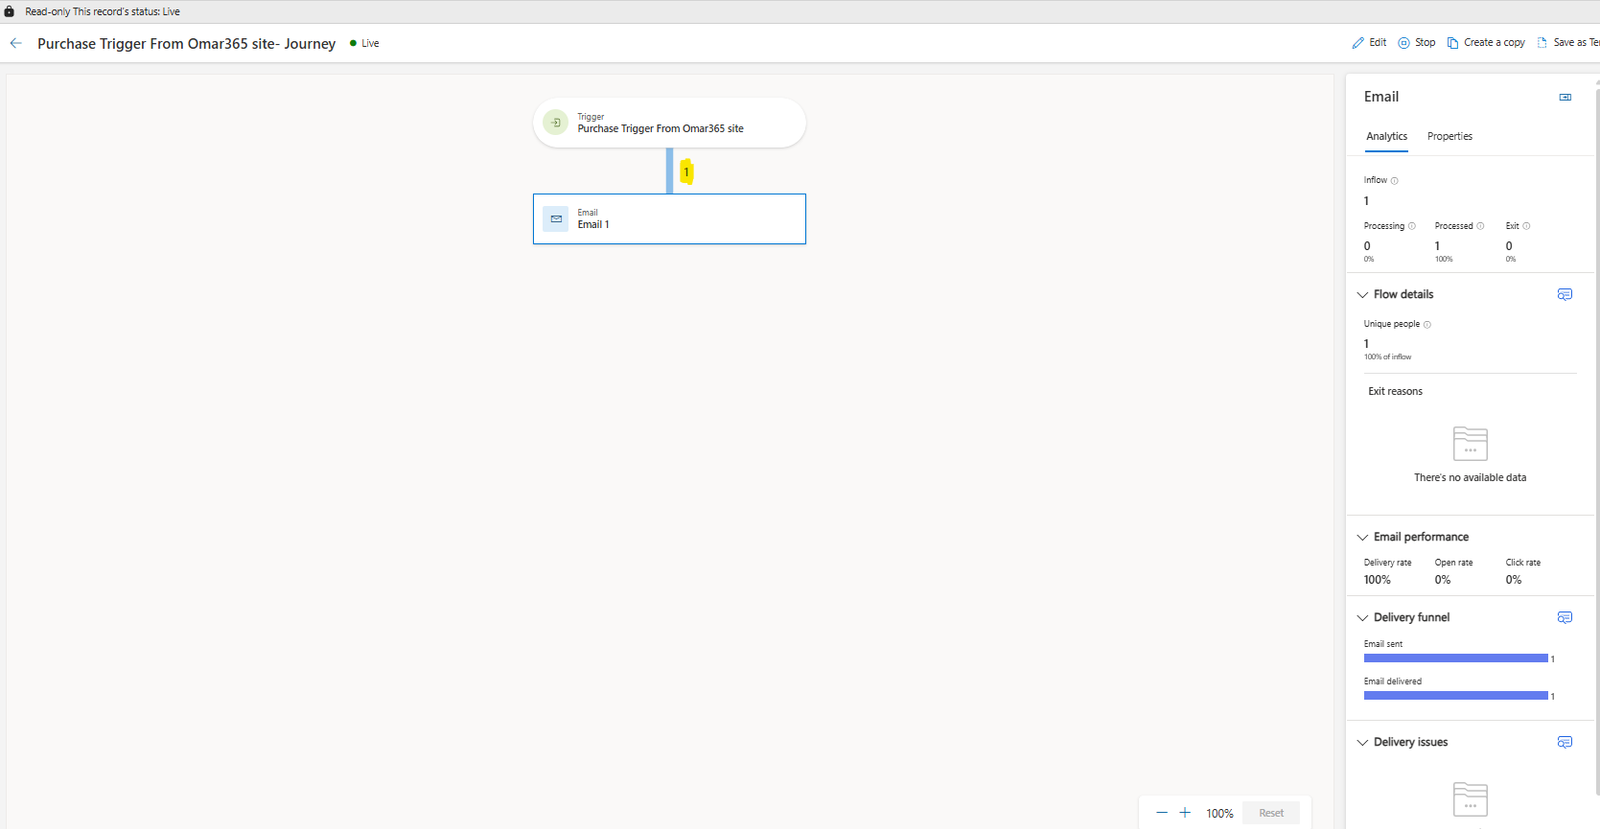
8. Test Your Custom Trigger
Run the trigger on a test page (not your live site) :).
Once fired, you should see that the journey has started and the email action has been sent.
Thanks for reading. let me know your thoughts in the comments. See you in the next post!